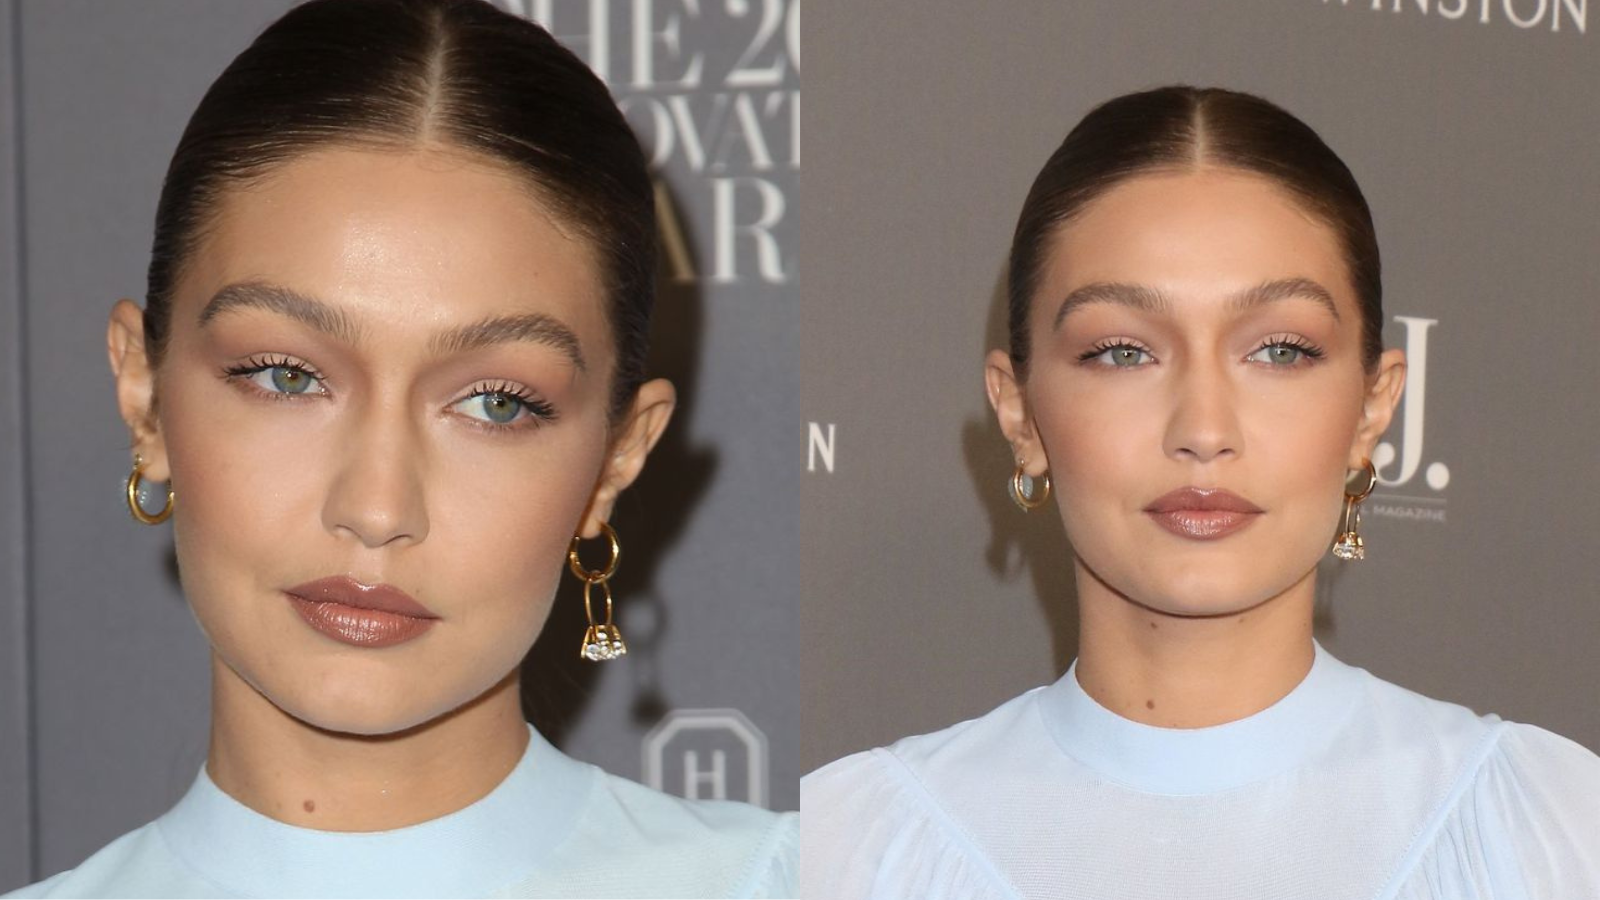
Hollywood has always epitomized glamour, grace, and flawless beauty. Many famous actresses and supermodels have something in common. They all have the desirable Hollywood oval face. Sharp features and a fresh, balanced look define this face shape, which shines best under the perfect lighting of lighted mirrors.
Getting this look involves more than just your natural bone structure. It also requires mastering the right makeup techniques for contouring.
If you are preparing for an important event or a photoshoot, understanding the Hollywood oval face can be useful. It can also improve your daily beauty routine. Boosting your makeup skills will make you look great.
In this guide, we’ll help you how to contour, highlight, and blend for a beautiful, sculpted face, just like the stars. The key? It's all about creating balance, definition, and a natural, glowing finish that enhances your facial features.
Contouring: Sculpting Your Face

Contouring is the foundation of achieving the Hollywood oval face shape. A makeup method that accentuates cheekbones, defines the jawline and sharpens the forehead.
Why It Works: The purpose of cream contouring is to add dimension to your face. Shading helps shape your face, giving it a more sculpted look, like the stars on the red carpet.
How to Contour Face Shape: To create that perfect contour, you’ll need both cream and powder contour products. The cream contour shapes your face, while the contour powder locks it in for longer wear.
- Step 1: Begin by applying cream contour along the areas of your face that you want to recede. Apply contour to the hollows of your cheeks, along your jawline, and forehead.
- Step 2: Use a makeup sponge to blend the contour into your skin. Be sure to blend gently – avoid pulling the skin too much, as this can damage it over time.
- Step 3: For a more natural finish, keep the contour minimal but precise. Avoid harsh lines – the key is to blend seamlessly.
Tip: For a more dramatic look, you can even extend the contour higher along your cheekbones and jawline. This gives your face a more youthful, lifted look.
Highlighting: Adding Dimension and Brightness
Once your face is sculpted with contour, it’s time to add some light to the high points of your face. Highlighting helps emphasize your cheekbones, nose, and jawline, creating a glowing, radiant effect that reflects light beautifully.
Why It Works: Highlighting brings dimension to the face, making it appear more sculpted and youthful. It adds a healthy glow and lifts the features without looking too dramatic.
How to Apply:
- Step 1: Apply a matte concealer or highlighter that is 1-2 shades lighter than your skin tone.
- Step 2: Use the highlighter on the high points of your face – under your eyes, the bridge of your nose, the brow bone, and the tops of your cheekbones.
- Step 3: Blend the highlighter into the skin with your fingers or a makeup sponge to ensure a seamless finish.
Tip: Always blend your highlighter well. This helps avoid harsh lines. It also makes your highlighting look natural and glowing.
Blending: Perfecting Your Contour and Highlight
Blending is everything when it comes to achieving a flawless finish. Proper blending ensures the contour and highlights merge with your skin, leaving a soft and smooth appearance.
Why It Works: Blending helps avoid streaks or harsh lines, which can give away the effort you’ve put into your makeup. Proper blending creates a natural, airbrushed effect.
How to Blend:
- Step 1: For cream products, use a damp sponge to blend the contour and highlight. A damp sponge helps the makeup blend effortlessly, giving you an even finish without streaks.
- Step 2: For a softer finish, you can also use a contour brush. Make sure to clean the brush regularly to avoid any color build-up or unwanted blending.
Tip: Always blend in circular motions, focusing on one area at a time. It ensures the product blends evenly and naturally, without any noticeable lines.
To make sure your contour and highlight blending is perfect, you absolutely need a good Makeup Mirror With Lights.
Try the Dual Pure-Lux Lighted Vanity Mirror, featuring 1x and 10x magnification for precise visibility, so every detail is crystal clear and your look is perfectly polished. Its adjustable LED lighting with three color settings offers the ideal illumination for flawless highlighting and contouring.
Setting Your Makeup
Now that you’ve applied contour, highlight, and blended everything perfectly, the final step is to set your makeup so it stays flawless throughout the day.
Why It Works: Setting your makeup is crucial for ensuring your hard work lasts all day (or night). This keeps your makeup from smudging or wearing off, even during long hours or hot days.
How to Set:
- Step 1: Use a translucent setting powder to lock in your makeup. Focus on the areas where you’ve highlighted, like under the eyes, down the bridge of your nose, and along your cheekbones.
- Step 2: Let the powder sit on your face for a few minutes to absorb any excess oil before brushing off the excess.
Tip: Use a setting powder with light-reflecting properties, like a soft-focus or illuminating powder for a more luminous finish.
The Finishing Touch: Enhancing Your Features
The final touch is where the magic happens—this is when you add the little details that bring the look together.
- Brows: Well-defined brows help frame your face and enhance your overall look. Make sure your brows are sculpted, but not overly drawn on.
- Eyes: Add a bit of eyeliner and mascara to open up your eyes and add some drama. For that “cat-eye” effect, extend the eyeliner past the outer corner of the eye and blend it into your contour.
- Lips: A nude or rosy lip color works best to balance the boldness of your makeup. Choose a shade that complements your skin tone for a natural, polished finish.
Tip: When you apply makeup to the eyes, always blend upward and outward. It creates a lifted eye effect, contributing to that sought-after "Hollywood oval" shape.
Conclusion
To achieve the perfect oval face look, you need to master the right techniques. Practice consistently and choose products that suit your skin type, whether you have cool undertones or neutral undertones. With highlighting and sculpting face makeup, you can create a bright, defined look. This enhances your natural skin and beauty, just like celebrity makeup.
Don’t forget, the trick is to make the technique your own. Try out various products, tools, and methods to find what suits your features best. Whether you're just starting or already a makeup pro, these steps will help you unlock the secrets to the flawless Hollywood oval face. With the help of LED mirrors for ideal lighting, you’ll always look ready for the spotlight – let yourself shine!


