When it comes to popular beauty concerns, few questions come up as often as "How to hide under-eye bags?" or "How to conceal tear troughs?" In this guide, you'll find practical answers to both, with a step-by-step makeup technique that works.
Let’s be real: under-eye bags and shadows can make anyone look more tired than they really are. But with the right products and a few simple tricks, you can lift and brighten your under-eye area — no surgery or filters needed.
Understanding What Causes Bags Under Eyes

In art, we create the illusion of shape through light and shadow. That same principle applies to makeup. Under-eye bags are basically a combination of a shadowed groove (the tear trough) and a puffy area that catches the light because it sticks out.
So to "erase" the look of under-eye bags, we’re going to:
- Brighten the dark hollow (the tear trough),
- Tone down the puffiness using powder to flatten it out visually.
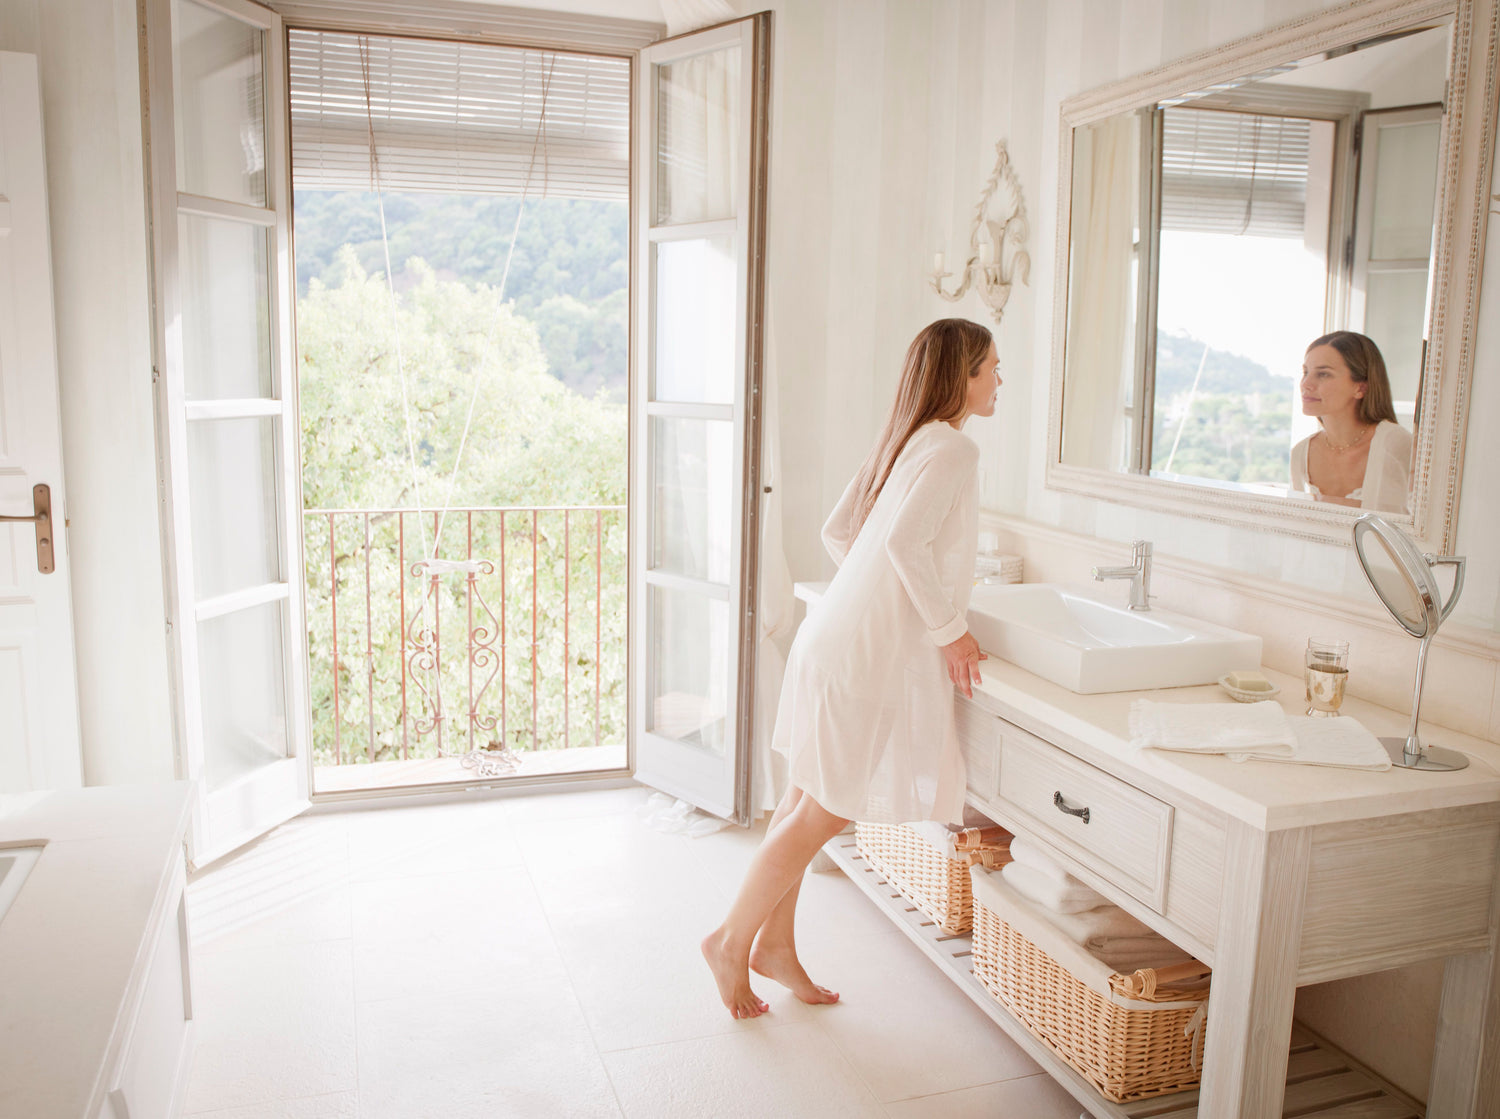
What You’ll Need
To achieve a natural, smooth finish, gather the best product for under eye bags:
- A light-reflecting concealer, half a shade lighter than your skin tone
- A matte setting powder that matches your skin tone exactly
- A small fluffy brush for controlled application
- A magnifying mirror — to help you apply product with precision and catch every detail in the under-eye area
Our pick: Dual Pure-Lux Lighted Vanity Mirror — this mirror offers crystal-clear magnification and soft LED lighting, making it easy to perfect every step of your makeup routine!

Step 1: Conceal the Tear Trough
This step focuses on the hollow area beneath the eye — the darker line where the shadow falls. To fill in this shadow:

- Apply a thin layer of concealer directly along the tear trough — follow the natural contour of the indented area.
- Use minimal product. Dab your applicator or brush on the back of your hand to remove excess before applying to your skin.
- Press the concealer into the skin gently using your finger or a sponge, keeping it focused only in the dark groove. Avoid the puffy area above — we’ll handle that next.
- If needed, build up coverage with a second thin layer.
Tip: This same trick works for laugh lines and marionette folds too.
Step 2: Tone Down the Puffy Area

Now, let’s soften the raised part of the under-eye bag — the part that sticks out and catches too much light.
Here’s how to reduce the appearance of that puffiness:
- Use a matte powder that perfectly matches your skin tone.
- Load a small, fluffy brush with a light amount of powder — tap off any excess.
- Press (don’t swipe) the powder onto the puffy area with gentle tapping motions.
- Blend lightly to soften any edges, but avoid layering too much.
A note of caution: The skin under the eyes is thin and often textured. Too much powder can highlight fine lines — even ones you didn’t know were there. Less is more.
Final Result
After applying this two-step method, you should notice a smoother, more even under-eye area. Your tear trough should look filled in and brightened, while the puffiness is visually minimized thanks to the mattifying effect of the powder.
The Key Steps
- Brighten the shadows — Apply a light, reflective concealer directly to the tear trough.
- Mattify the puffiness — Use skin-tone powder to flatten out the area that sticks out.
- Use light layers — Especially under the eyes, a little goes a long way.
- Avoid placing light concealer on the puffy part — It will only emphasize the volume.
With just two products and a few well-placed strokes, you can refresh your under-eye area and fake a full night’s sleep. Whether you're heading to work, a date, or just want to feel a bit more confident, this trick is quick, easy, and effective.