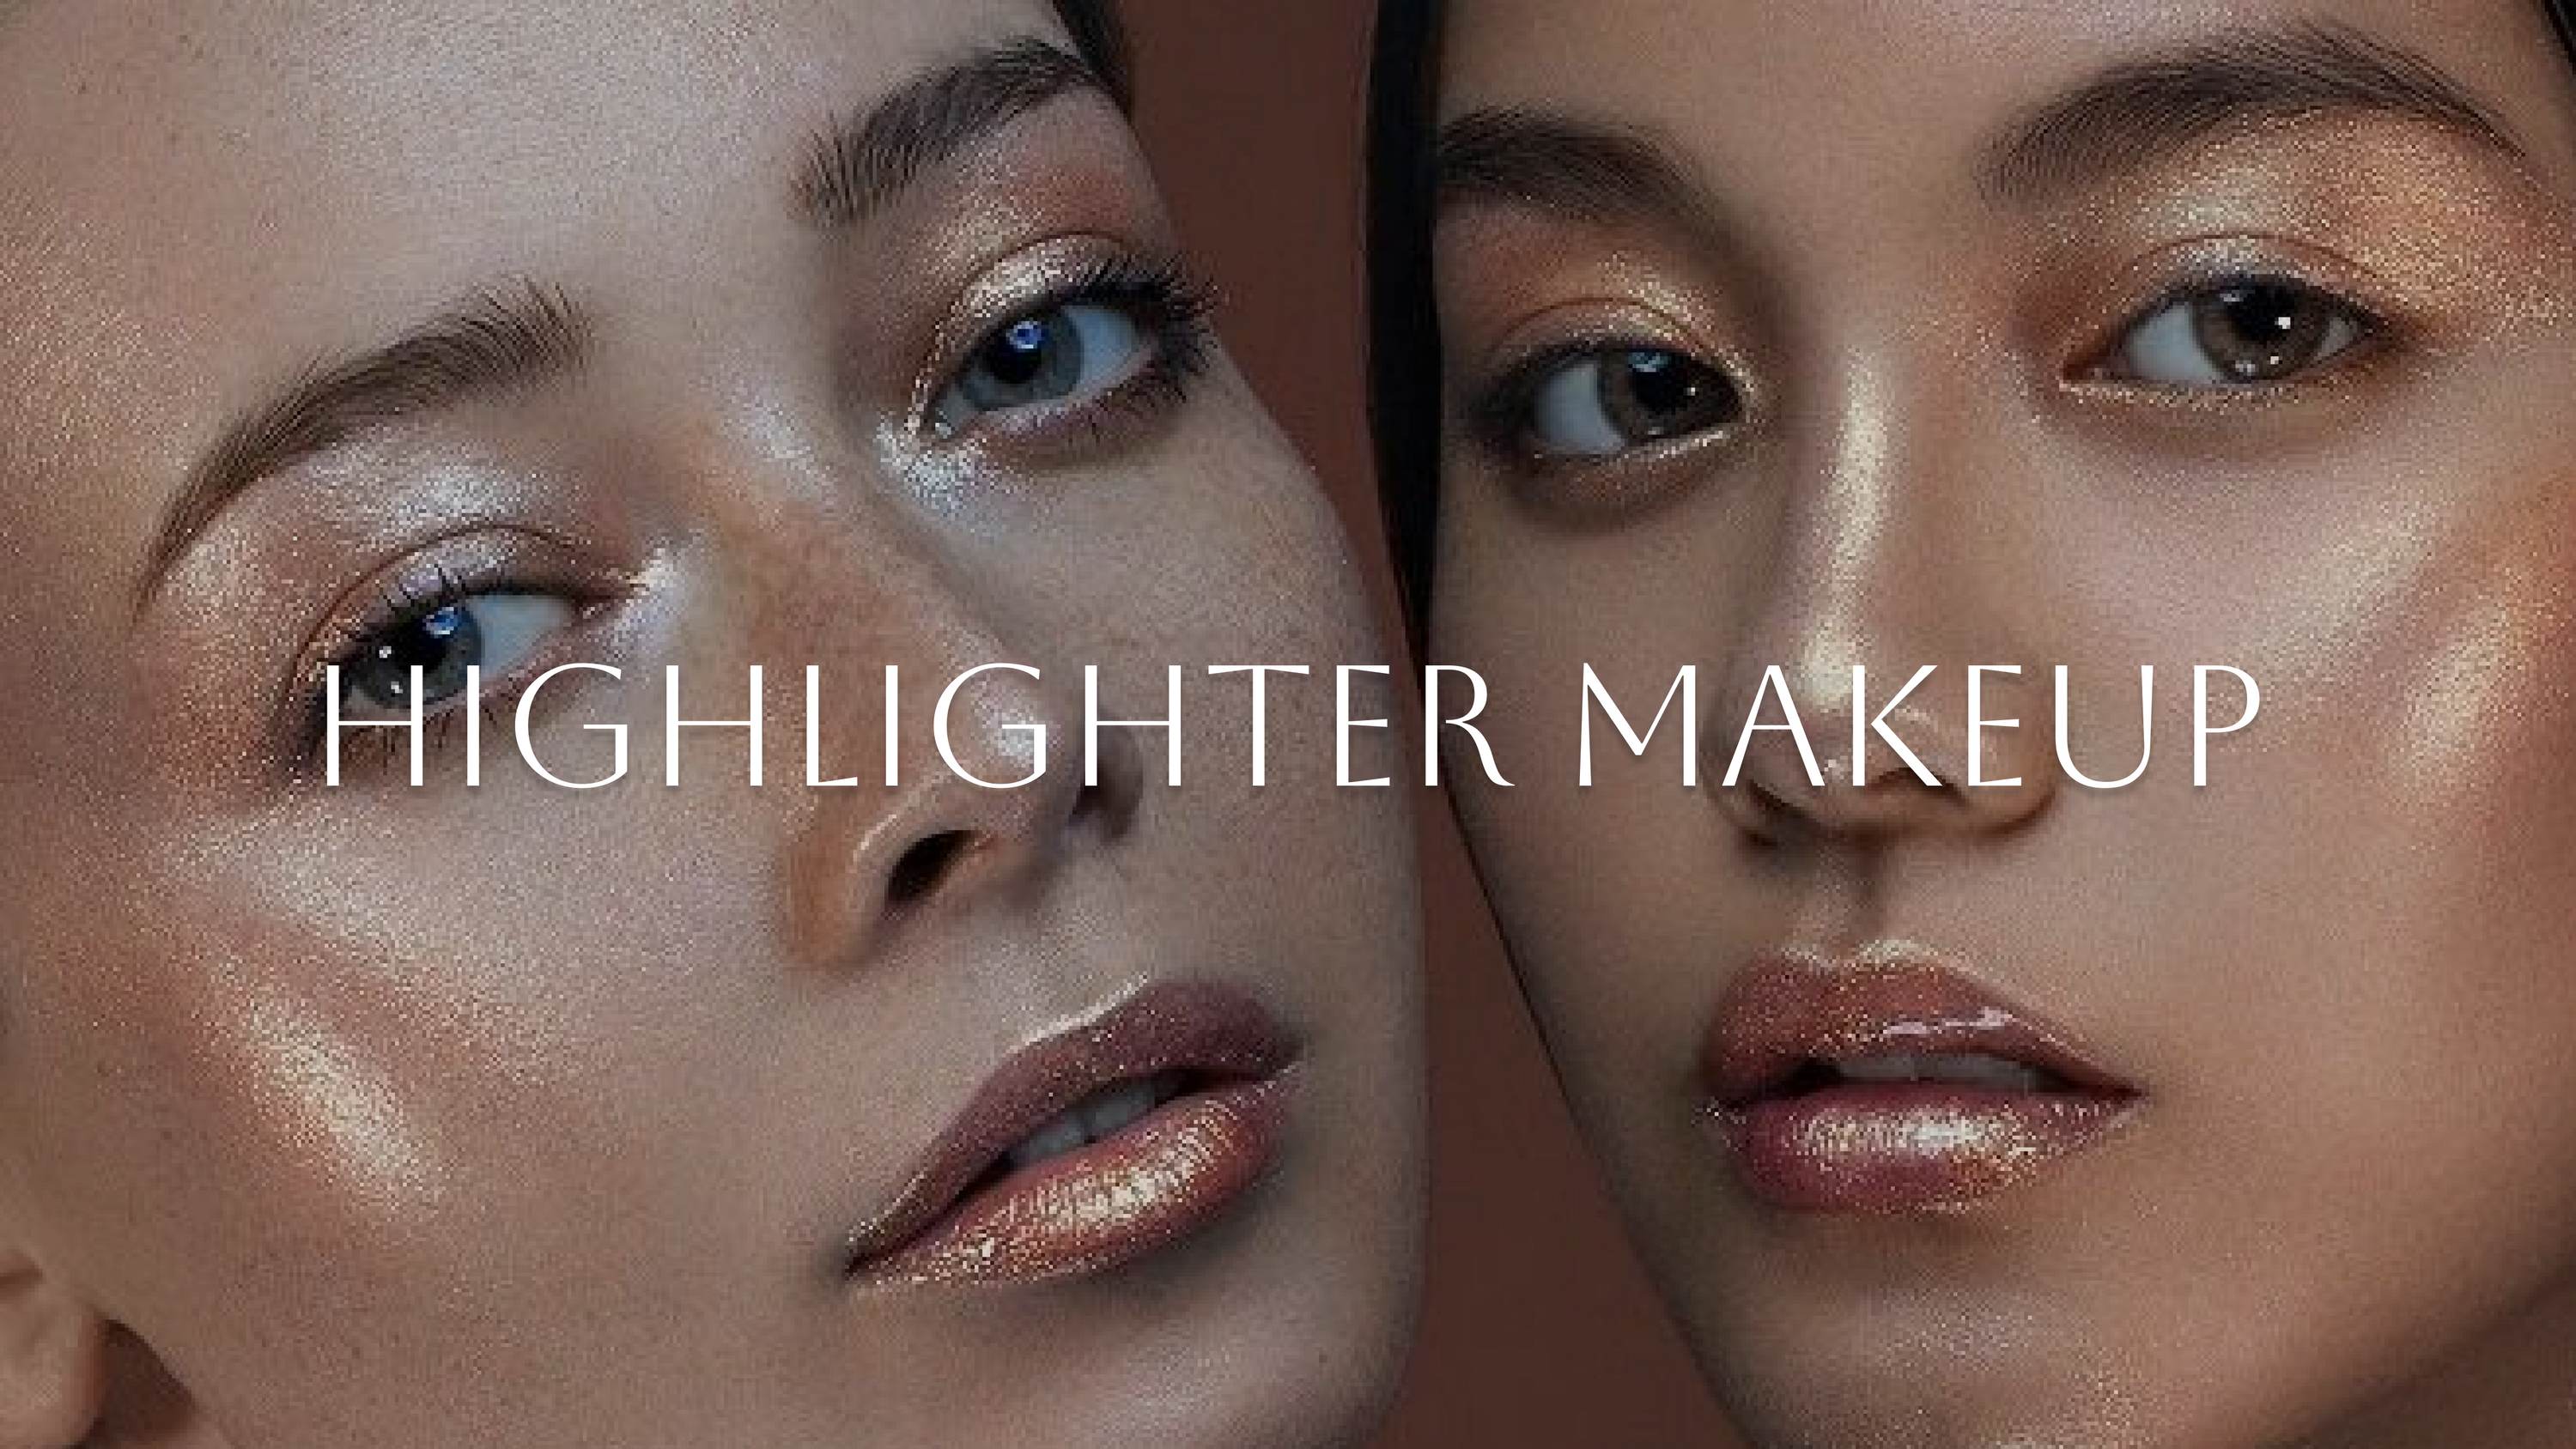
Highlighter makeup quickly became a favorite for many, and it’s no surprise. With a touch of this, your skin will appear luminous, as if refreshed and glowing from within. Whether you're new to makeup or an expert, a highlighter is a product that can elevate any look with just a few easy applications.
Learn all the basics of makeup with highlight in this guide. We will cover how to choose the right product and how to apply it like a pro.
What Is Highlighter Makeup?
Highlighter adds a bright shine to your face's high points. It makes your skin look brighter by bouncing light.
Highlight makeup comes in different types: powder, cream, stick, and liquid. When used correctly, a highlighter can brighten dull skin. It can highlight your features and give you a “lit-from-within” look.
Choose the Right Highlighter for Your Skin Tone
Not all highlighters are the same. Picking the right shade based on your skin tone is important. This allows you to achieve the best highlighter makeup.
- Fair Skin: Look for highlighters with pink, peach, or champagne undertones. These tones brighten fair skin with a soft radiance.
- Medium Skin: Go for gold, bronze, or rose gold highlighters. These shades will add warmth to your skin and create a stunning, sun-kissed glow.
- Dark Skin: Opt for deep gold, copper, or bronze highlighters. These colors will give your skin a vibrant, warm glow without any dullness.
When choosing a highlighter, also consider the formula. If you prefer a subtle, natural glow, go for a powder highlighter. If you want something more intense, a liquid or cream highlighter might be the best option.
Apply Highlighter to the Right Areas

Knowing where to apply highlighter is crucial for achieving a well-balanced, radiant look. You should use a highlighter to accentuate the high points of your face, where light naturally hits. Here’s where to apply it:
- Cheekbones: Sweep highlighter along the tops of your cheekbones to create the illusion of lifted, more sculpted cheeks.
- Nose Bridge: Apply a small amount of highlighter down the bridge of your nose to make it appear more defined and straight. You can also highlight the tip of your nose for a subtle, cute effect.
- Cupid’s Bow: Dab highlighter on your cupid’s bow (the V-shaped area on your upper lip). This draws attention to your lips and makes them look fuller.
- Brow Bone: Apply a little highlighter beneath your brow arch to lift your eyebrows and make your eyes appear larger.
- Inner Corners of the Eyes: A little highlighter on the inner corners of your eyes can make them look brighter and more awake.
- Apply highlighter to your collarbones for a dramatic look. This gives a glowing, dewy finish that highlights your shoulders and neckline.
Choose Your Application Method
There are different tools and techniques for applying highlighter, and the method you choose depends on the look you’re going for.
- Brush: For a soft, diffused glow, use a fan brush or a tapered highlighter brush. Swirl the brush in your highlighter and apply it in light, sweeping motions. This is ideal for powder highlighters.
- Fingers: If you’re using a cream or liquid highlighter, your fingers are your best tool. The warmth of your fingers will help the product melt into your skin, creating a more natural finish. Dab and press the product onto your face for a seamless glow.
- You can use a makeup sponge, like a Beauty Blender, to apply cream or liquid highlighters. Simply dab the highlighter on your skin with the sponge for a more intense glow.
Blend for a Natural Finish
Blending is key to achieving a natural-looking highlighter. The goal is to make it look like your skin is glowing, not like you’re wearing glitter.
- For powders, use a clean makeup sponge or fluffy brush to gently blend out the edges. This will soften the highlighter and give it a more seamless finish.
- For creams and liquids, use your fingers or a sponge to tap the product into your skin. Avoid rubbing, as this can disturb your foundation or concealer.
Build Up the Glow
If you're aiming for a subtle, natural glow, one layer of highlighter should be enough. However, if you want a more intense, dramatic look, feel free to build up the highlighter in layers.
Start by applying a light layer and check how it looks in natural light. Then, gradually add more product to achieve your desired level of radiance.
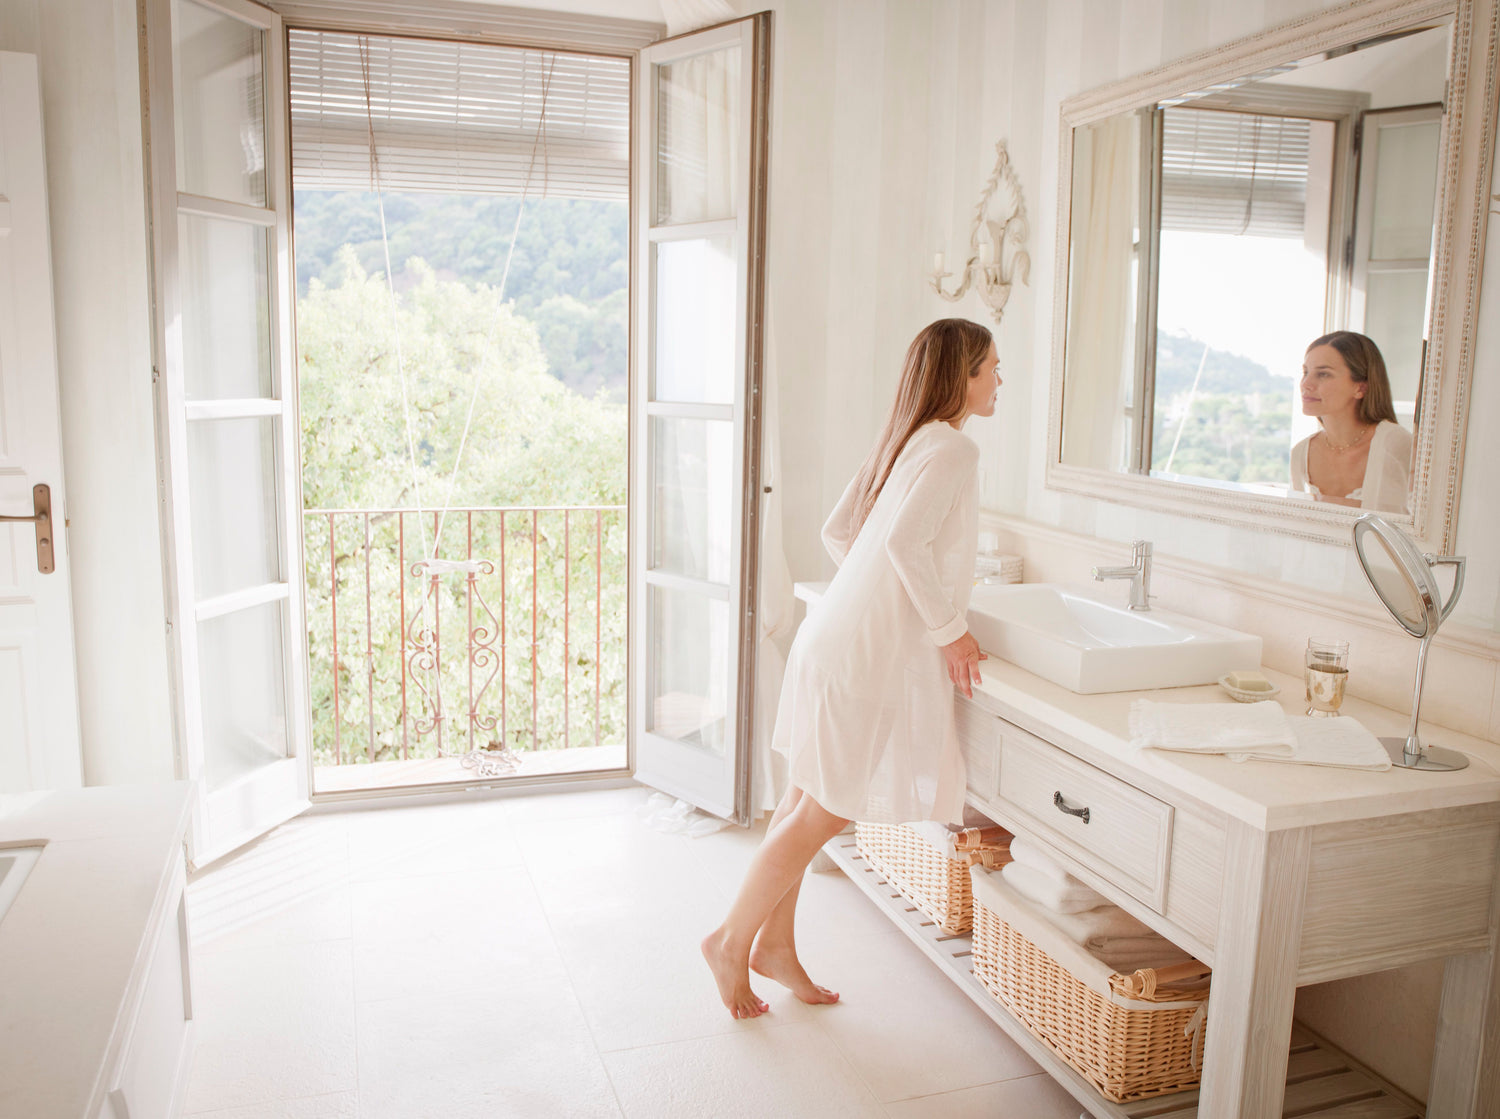
The Best Mirror for Your Beauty Routine!
Set Your Highlighter
After applying your highlighter, you might want to set it in place to make sure it lasts all day. If you use a powder highlighter, lightly spray your face with setting spray or water. This helps keep the glow. For cream or liquid highlighters, set them with a light dusting of translucent powder to prevent them from moving.
Experiment with Different Highlighter Looks
A traditional highlighter look is great for everyday use. However, you can try different highlighter techniques for special occasions.
- Glowy Blush: For an extra pop of radiance, try mixing your highlighter with your blush. This creates a soft, glowing blush that’s perfect for a fresh-faced look.
- Body Highlighting: If you wear sleeveless or low-cut outfits, put highlighter on your arms, legs, and chest. This will give your body a sun-kissed glow.
- Strobing: This technique focuses on applying highlighter to the high points of your face for an intense, lit-from-within glow. It’s perfect for a night out or special event.
Conclusion
Highlighter adds radiance to your face quickly and easily. Choosing the perfect shade for your skin tone and applying it to the high points of your face gives you an instant, radiant, youthful appearance. Whether you prefer a subtle shine or a bold, blinding glow, the possibilities with highlighter are endless. Let your radiance shine while experimenting with textures and techniques for the best highlight.


